Let Your AI Assistant Generate Icons: IcoGenie MCP Server
Set up the IcoGenie MCP server so Claude can generate, preview, and download production-ready icons directly in your conversation.

What is MCP?
The Model Context Protocol (MCP) lets AI assistants like Claude use external tools. Instead of copy-pasting between your chat and a website, the assistant calls tools directly — generating icons, checking credit balances, and downloading assets without you leaving the conversation.
IcoGenie's MCP server gives Claude eleven tools for icon generation, library management, and daily credits. Here's how to set it up and use it.
Setup
Add this to your Claude Desktop config (~/Library/Application Support/Claude/claude_desktop_config.json):
{
  "mcpServers": {
    "icogenie": {
      "command": "npx",
      "args": ["-y", "@icogenie/mcp"]
    }
  }
}
For Claude Code, add it to .mcp.json or ~/.claude/mcp.json with the same configuration.
The first time Claude calls an IcoGenie tool, it'll open your browser for OAuth authentication. After that, your session token is stored locally and reused automatically.
Available tools
| Tool | Cost | What it does |
|---|---|---|
generate_icon | 1 credit | Generate a preview from a text description |
regenerate_icon | 1 credit | Generate 4 regeneration candidates (two-phase) |
confirm_regeneration | Free | Select and finalize one of the 4 candidates |
download_icon | 5 credits | Download the full asset package (SVG + PNG + JSX) |
save_to_library | Free | Save a generated icon to your library |
list_library | Free | Browse your saved icons |
download_from_library | Free | Re-download a previously saved icon |
normalize_bundle | Free | Plan an icon bundle from a description |
generate_bundle | 1 credit | Generate a bundle of related icons |
check_credits | Free | Check your remaining credit balance |
claim_daily_credits | Free | Claim 2 free credits (once per 24h) |
Example workflow
Here's what a typical conversation looks like:
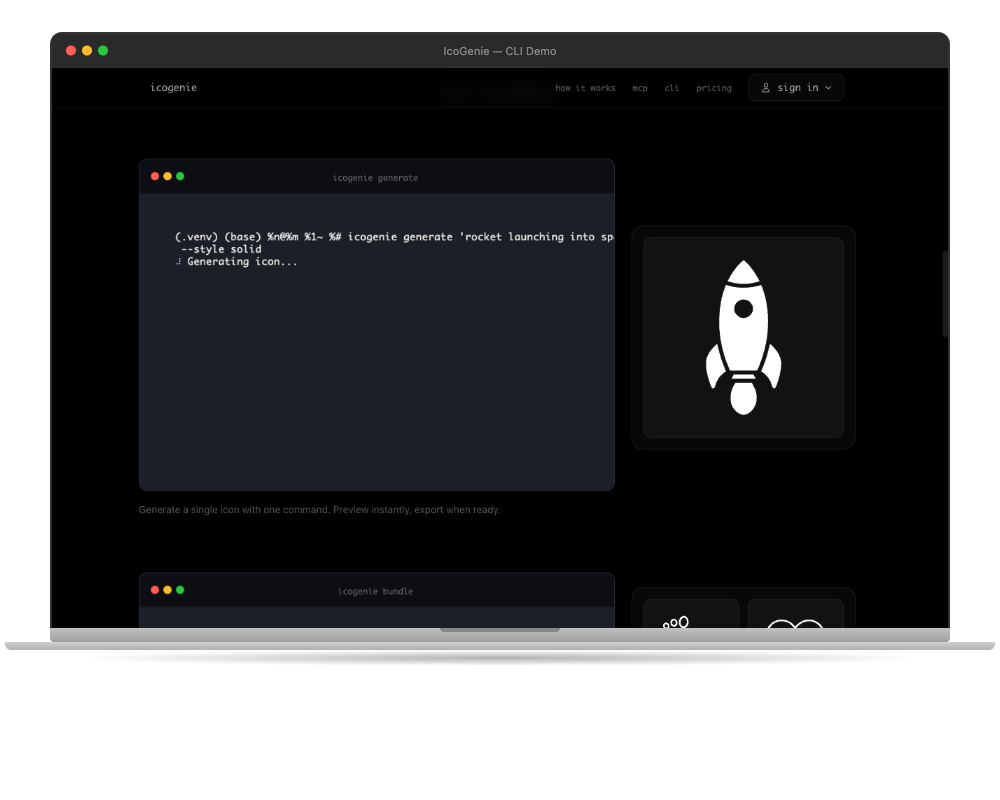
You: "I need a settings gear icon for my app, outline style"
Claude calls generate_icon with your description and style preference. You see a preview in the chat. If you like it, ask Claude to download it:
You: "Looks good, download variation 1"
Claude calls download_icon and you get a ZIP with SVG, PNGs at all sizes, a React component, and HTML favicon meta.
Bundle generation
The MCP server really shines for icon bundles. Instead of generating icons one at a time, you can describe an entire set:
You: "I need icons for a fitness app: steps, heart rate, calories, distance, workouts, and hydration"
Claude calls normalize_bundle to plan the set with consistent descriptions, then generate_bundle to create them all. Each icon maintains visual consistency because they're generated as a coordinated set.
CI/CD integration
For automated pipelines, set the ICOGENIE_SESSION_TOKEN environment variable instead of using browser-based auth:
export ICOGENIE_SESSION_TOKEN="your-session-token"
This lets you run icon generation in GitHub Actions, GitLab CI, or any automated workflow where browser authentication isn't possible.
Why MCP over the web UI?
The web UI is great for exploration and one-off icons. MCP is better when:
- You're already in a coding session and don't want to context-switch
- You need to generate icons as part of a larger task (building a feature, setting up a project)
- You want Claude to make icon decisions based on your codebase context
- You're automating icon generation in a pipeline
The same generation pipeline powers both. Same quality, same credit costs, different interface.
Getting started
Install the MCP server, authenticate once, and ask Claude to generate an icon. That's it.
npx @icogenie/mcp
Check your credits with check_credits (or claim free ones with claim_daily_credits), generate a preview with generate_icon, and download when you're happy. Your AI assistant handles the rest.
Set up IcoGenie MCP and start generating icons from your conversations.